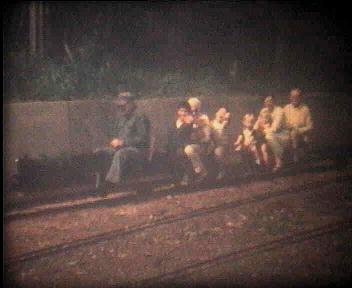
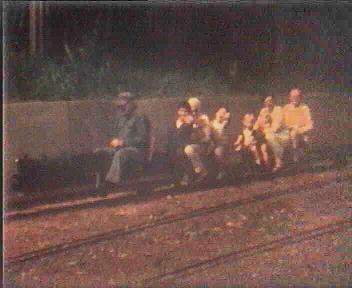
The Hotspot filter attempts to correct the problem by bringing up the image intensity in the dark areas. It uses a mask file that is created by shooting a white frame (no film in the projector). It is also possible to manually create the mask file if it is not possible to obtain the white frame. Here is the image processed through the Hotspot filter:
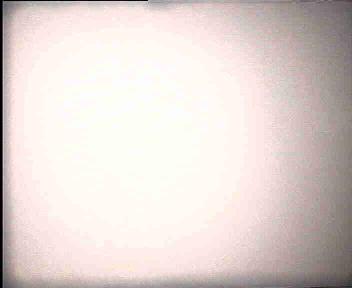
Now we have to process this to make our final mask file. Using VirtualDub, first load the white frame file for processing. Then load the following filter chain:
grayscale
invert
box blur (radius 9, power 3)
Pull up a filter preview on the box filter and put your cursor right in the center of the black hotspot. If it has value 0,you can go on. If not, add a levels filter and preview it. Move the black triangle on the input levels slider to the right slightly until the pixel value becomes 0.
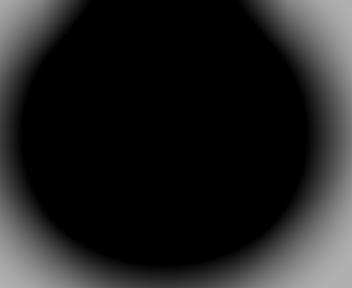
Finally, using Video/Copy output frame to clipboard and Windows Paint, create the final 24-bit BMP mask file. This mask file will only have to be created once for a given projector setup, and all films shot from it can be processed with the same mask file. Here is the final mask file that corresponds to the white frame above:
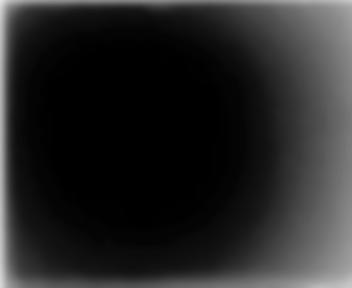
This is the file that is entered in the Mask file edit box.
Multiplicative This value determines the strength of the multiplicative correction effect (the pixel intensities are multiplied by the corresponding intensity of the mask file). You will find that if there are really dark pixels at the corners and edges, especially black ones, these pixels will not be corrected. Don't despair; we correct those with additive correction below. So, first, set this slider to correct just to the point that the dark area comes up to the right luminance. If you go too far you'll turn it into a bright ring. Then use the additive control below to finish the process.
Additive This value determines the luminance to be added at the corners and edges to bring up their luminance. Use just enough strength to give a pleasing effect. If your corners and edges are really bad, you might want to consider cropping them.
Invert When unchecked the filter is good for fixing vignetting, i.e., it brings up the luminance of dark areas. If you want to instead bring down the luminance of bright areas, then check this checkbox and use a dark frame mask instead of a white frame mask.